How to Water Plants the Right Way

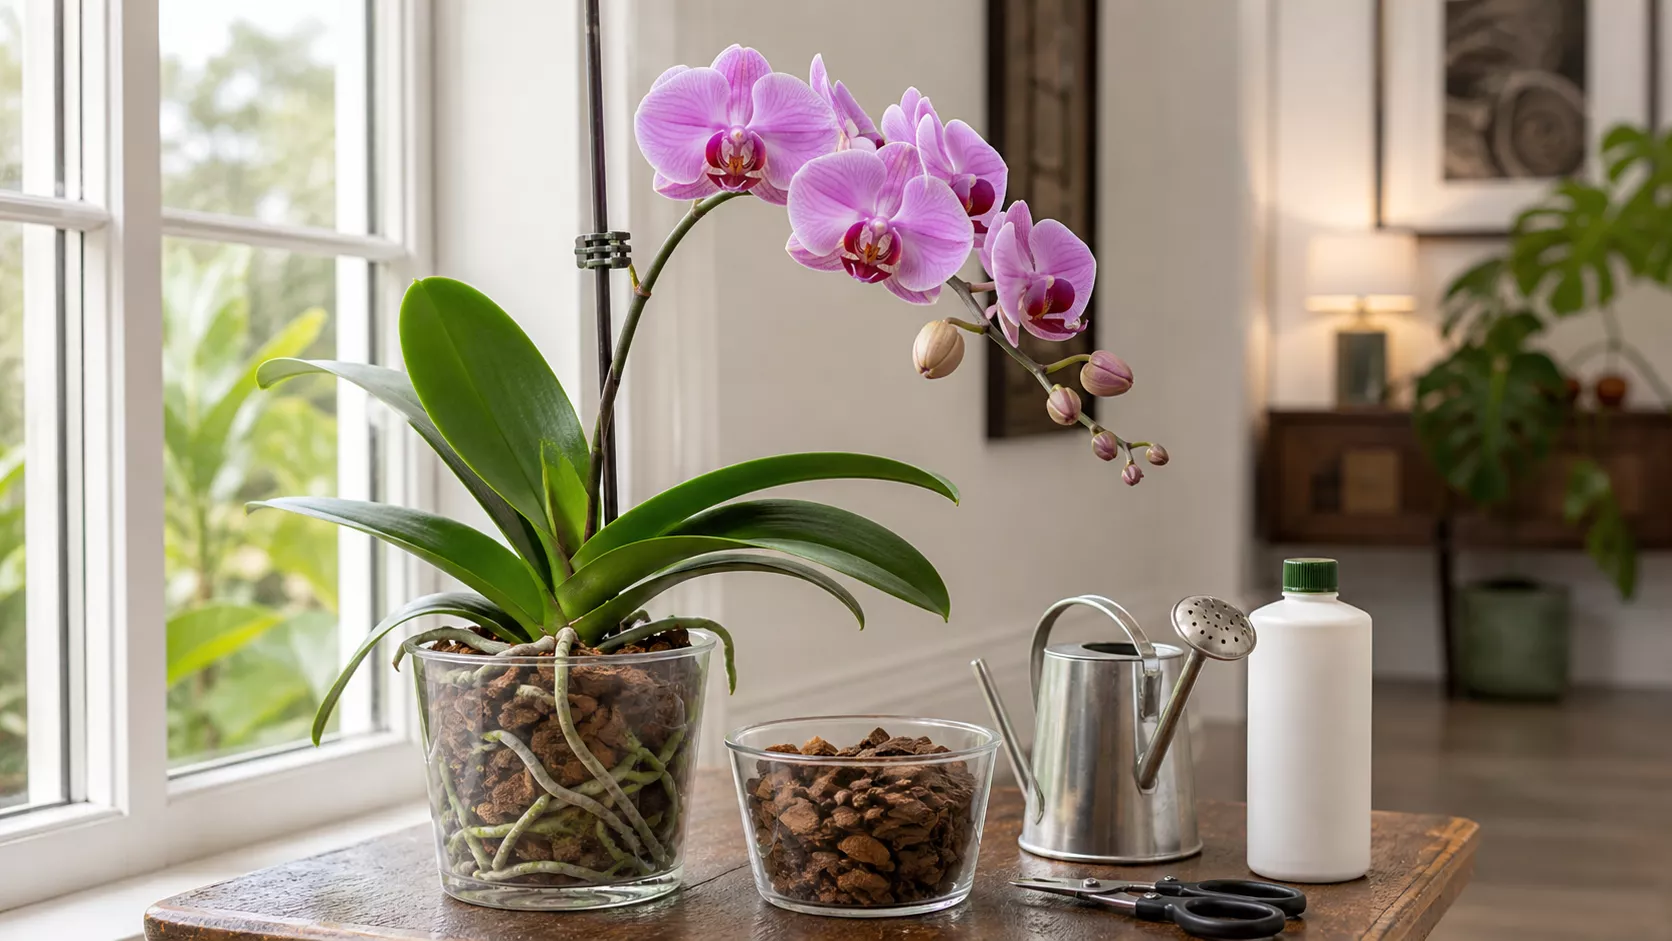
First, learning how to care for orchids can seem intimidating at the beginning, but orchids are not as difficult as many people think. With the right light, watering routine, potting mix, and patience, many orchids can grow well indoors and bloom beautifully.
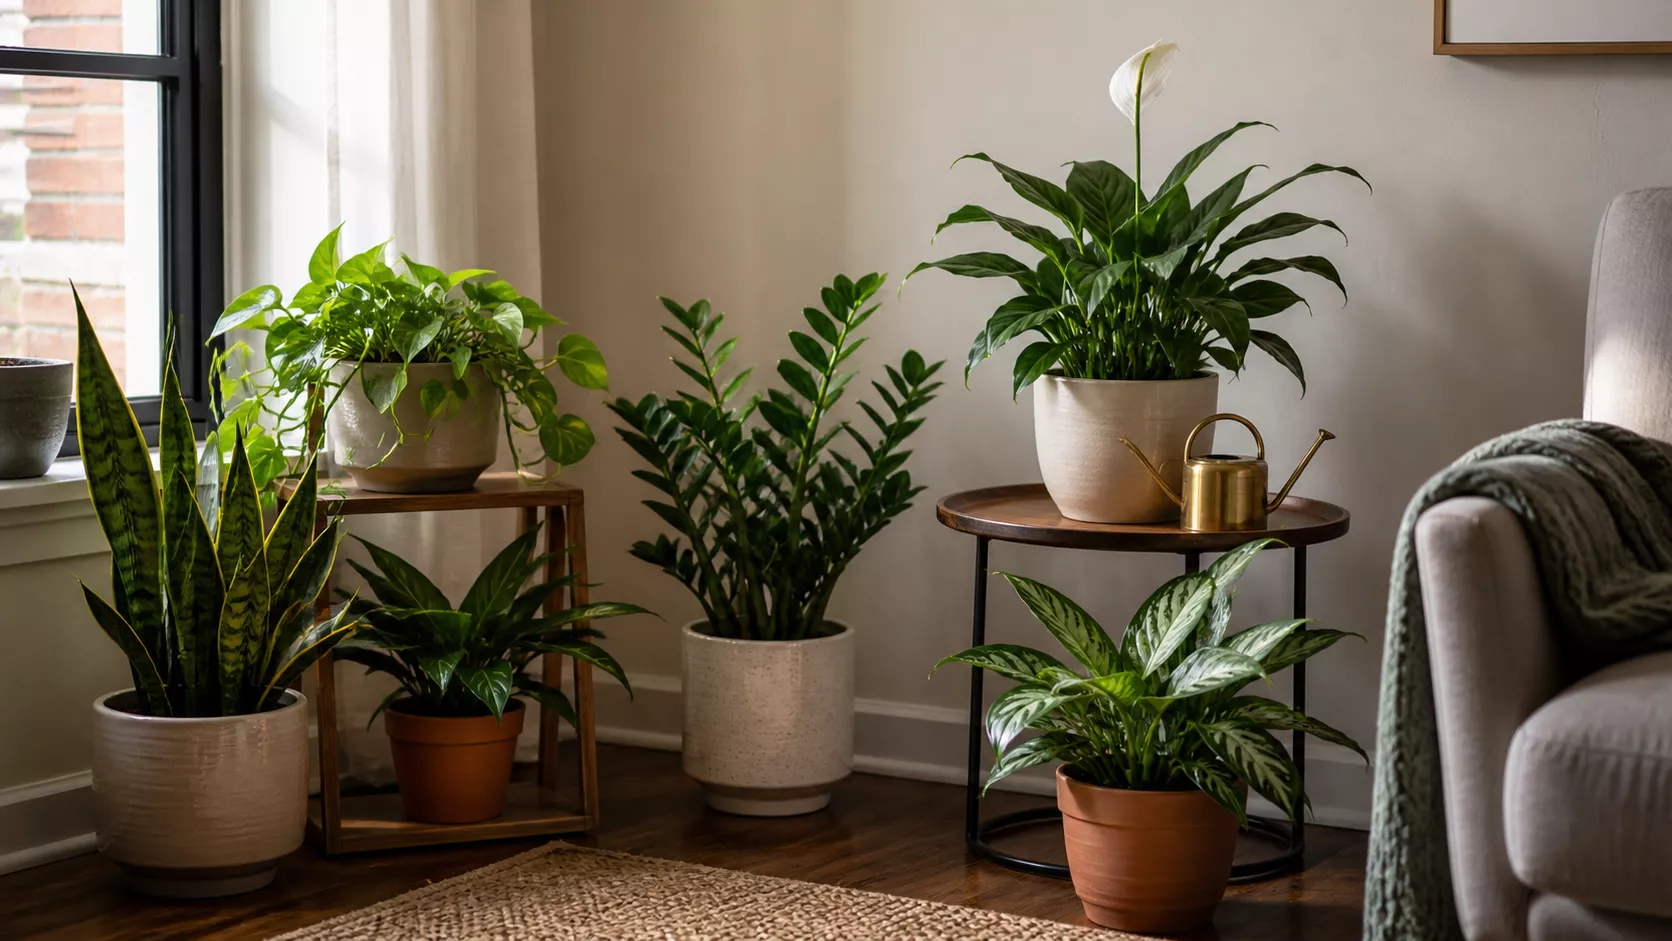
Additionally, orchids are admired because of their elegant flowers, long-lasting blooms, and delicate appearance. They are often used to decorate living rooms, bedrooms, offices, kitchens, and bright indoor spaces. Among all orchids, Phalaenopsis orchids are some of the most common and beginner-friendly.
However, orchids are different from many regular houseplants. Most common orchids do not grow well in ordinary soil. They need airflow around the roots, careful watering, and suitable indirect light. Therefore, this simple guide will explain orchid care for beginners in a clear and practical way.
First, many popular orchids are epiphytes. This means they naturally grow attached to trees or other surfaces instead of growing in dense soil. Their roots are adapted to receive air, moisture, and light exposure in a different way from regular potted plants.
Because of this, orchids usually need a chunky potting medium such as bark, sphagnum moss, charcoal, or perlite. Regular garden soil or heavy potting soil can suffocate orchid roots and hold too much moisture.
Additionally, orchid roots often look thick and silvery when dry, and green when hydrated. Learning to observe the roots helps you understand when the plant needs water.
First, Phalaenopsis orchid is usually the best orchid for beginners. It is widely available, adapts well to indoor spaces, and can bloom for weeks or even months when cared for properly.
Also, Phalaenopsis orchids do well in bright indirect light, which makes them suitable for many homes and apartments. They do not need intense direct sun like some other orchid types.
Furthermore, they are easier to understand than many advanced orchids. Once you learn how to care for Phalaenopsis, you can explore other orchid varieties with more confidence.
First, orchids usually grow best in bright indirect light. This means they need a bright space, but not harsh direct sunlight for long periods. A window with filtered light can be ideal.
If an orchid receives too little light, it may produce healthy-looking leaves but fail to bloom again. The leaves may also become very dark green, and growth may slow down.
On the other hand, too much direct sun can burn orchid leaves. Sunburn may appear as pale, yellow, or brown damaged areas. If your orchid receives strong sun, use a sheer curtain or move it slightly away from the window.
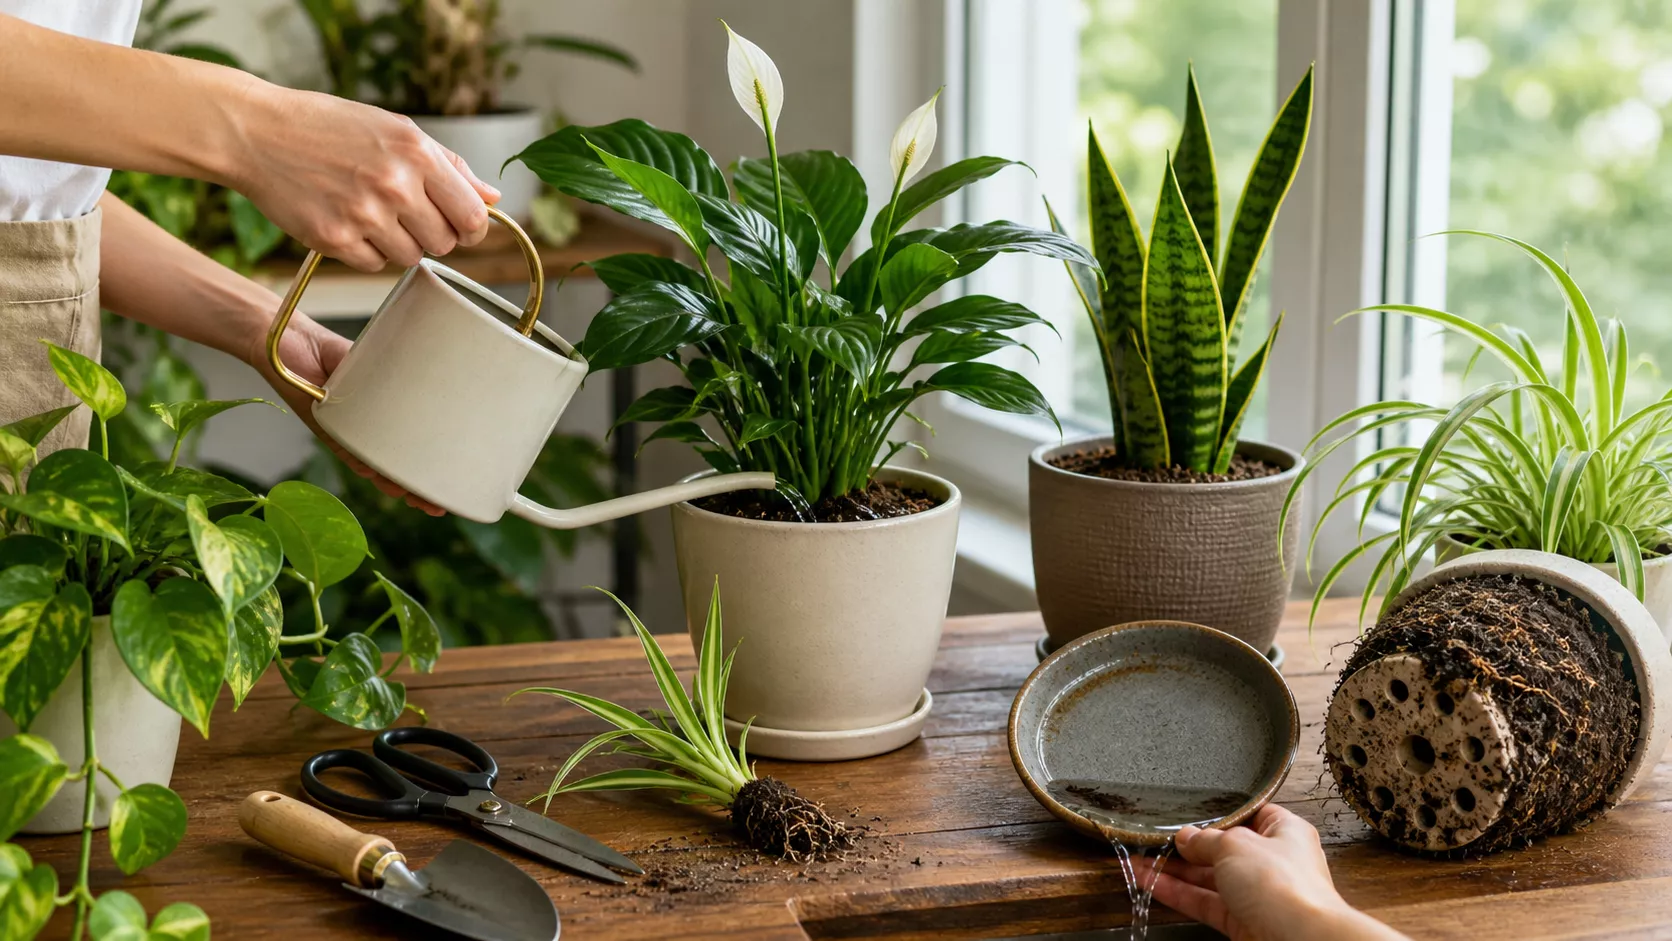
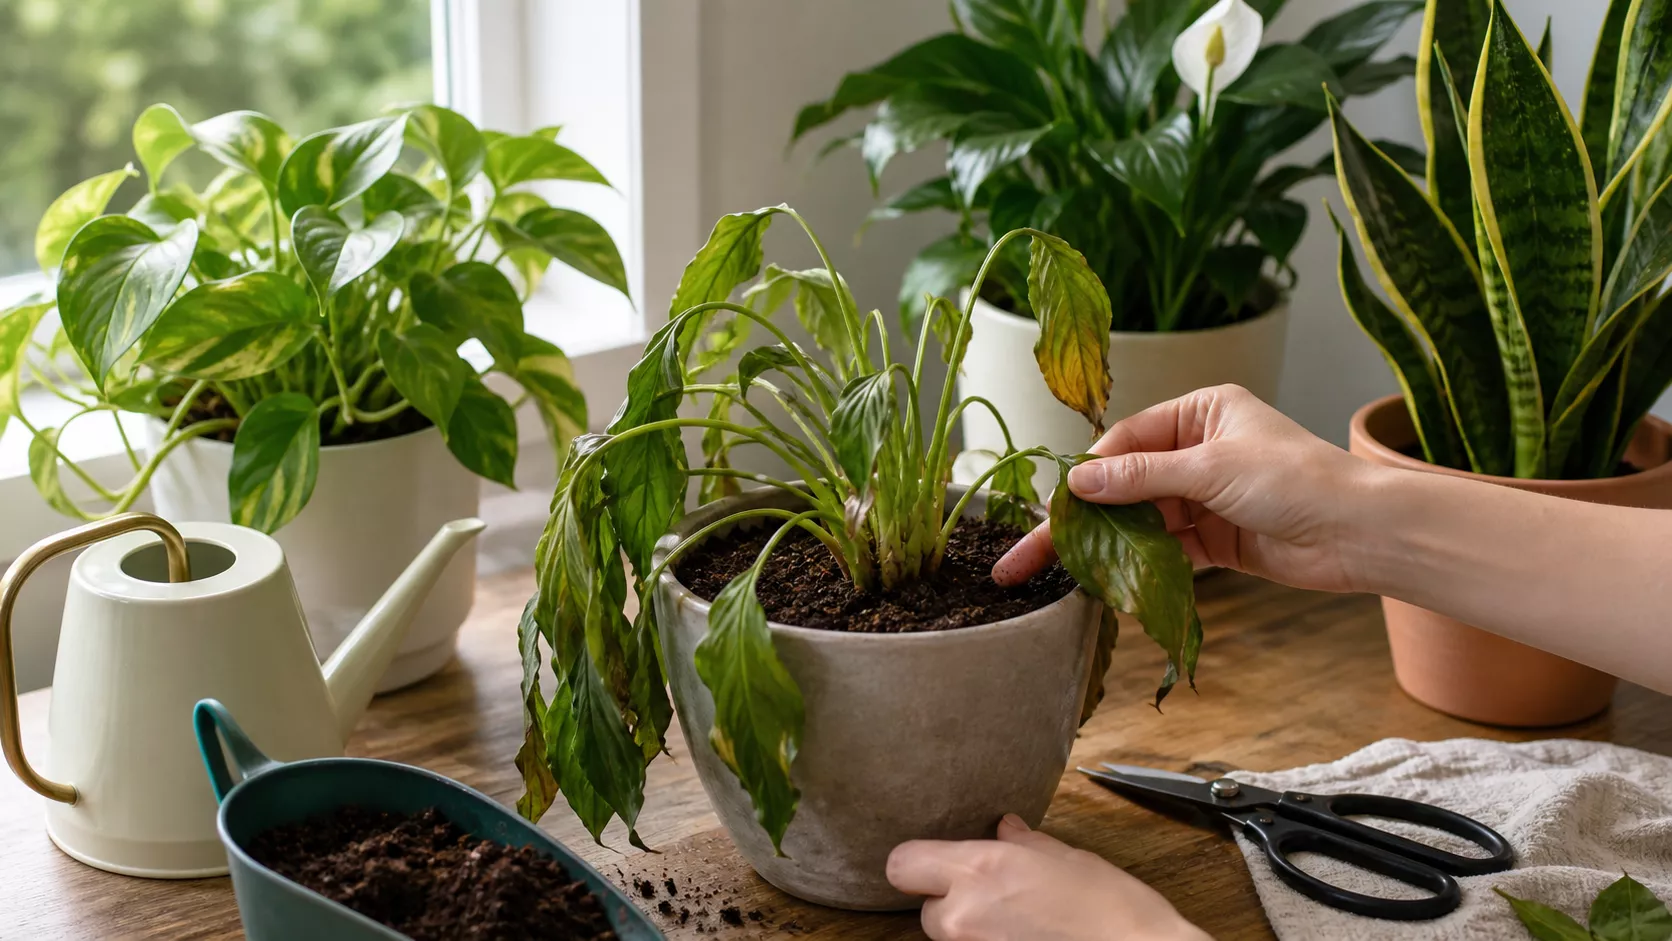
Next, watering is one of the most important parts of orchid care. Orchids should not be watered on a rigid schedule without checking the roots or potting medium.
Usually, an orchid needs water when the potting mix begins to dry and the roots look silvery or pale. If the roots are still green and the medium feels moist, wait longer.
When watering, water thoroughly and allow all excess water to drain away. Orchids should not sit in standing water because this can damage the roots.
To water correctly, take the orchid to a sink and pour room-temperature water through the potting medium until it flows from the drainage holes. Let the plant drain completely before returning it to its decorative pot.
Importantly, avoid leaving water in the crown, which is the center area where leaves meet. Water trapped there for too long can cause problems, especially in low airflow.
Also, avoid using ice cubes as a regular watering method. Orchids are tropical plants, and very cold water can stress roots. Room-temperature water is safer and more natural.
Unfortunately, overwatering is one of the most common orchid care mistakes. Orchid roots need air as well as moisture. When the potting medium stays wet for too long, roots can become weak or damaged.
Signs of overwatering may include yellow leaves, soft roots, black roots, mushy texture, unpleasant smell, and wilting even though the medium is wet.
To avoid this, use a proper orchid potting mix, choose a pot with drainage, and check root color before watering. It is better to wait slightly longer than to keep the orchid constantly wet.
Although overwatering is common, orchids can also suffer from underwatering. If the plant stays dry too long, roots may become shriveled and leaves may look wrinkled or limp.
A thirsty orchid may have silvery roots, dry bark, and leaves that lose firmness. In this case, a thorough watering can help if the roots are still healthy.
However, avoid extreme cycles of severe dryness followed by excessive watering. Orchids grow best with a consistent routine that allows airflow and proper moisture.
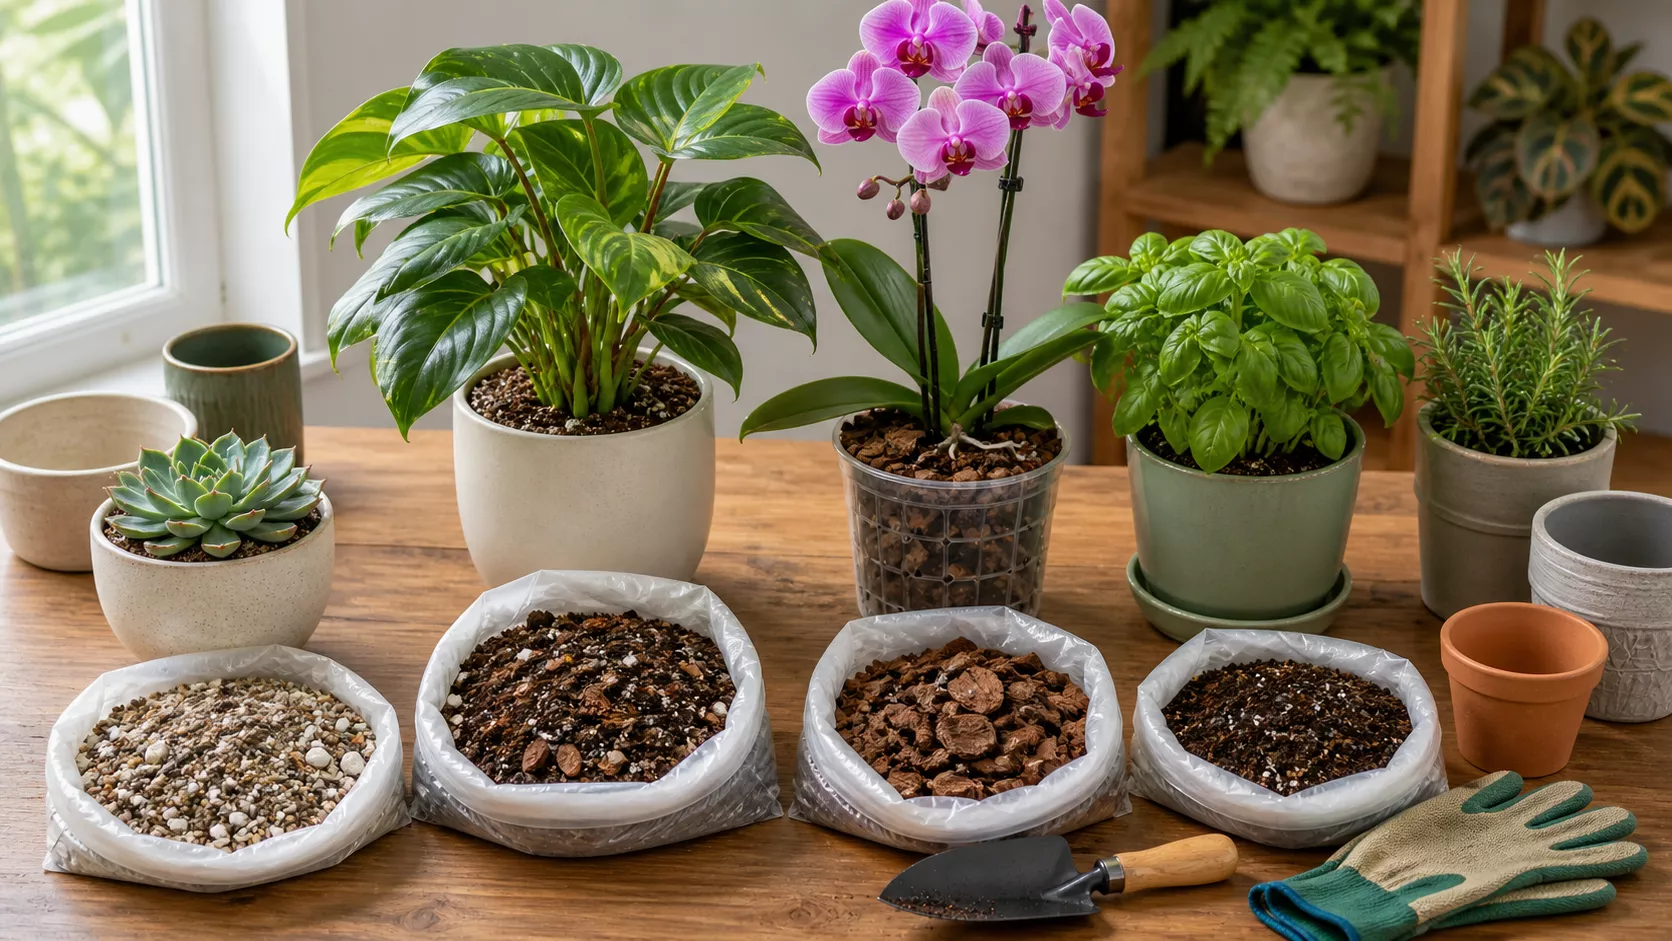
Another essential point is the potting medium. Most beginner orchids should not be planted in regular soil. They need a mix that allows air to reach the roots.
Common orchid mixes include bark chips, sphagnum moss, charcoal, perlite, or a combination of these materials. Bark dries faster, while sphagnum moss holds more moisture.
Therefore, choose the mix according to your home conditions and watering habits. If you tend to water often, bark may be safer. If your home is very dry, a mix with some moss may help retain moisture.
Also, orchids need pots with excellent drainage. Many orchids are sold in clear plastic pots because these allow you to see the roots and check moisture more easily.
Clear pots are helpful for beginners because green roots usually mean the plant is hydrated, while silvery roots often mean the plant is ready for water.
Additionally, decorative pots can be used as outer containers, but the orchid should not sit in collected water. Remove the inner pot for watering and let it drain fully before placing it back.
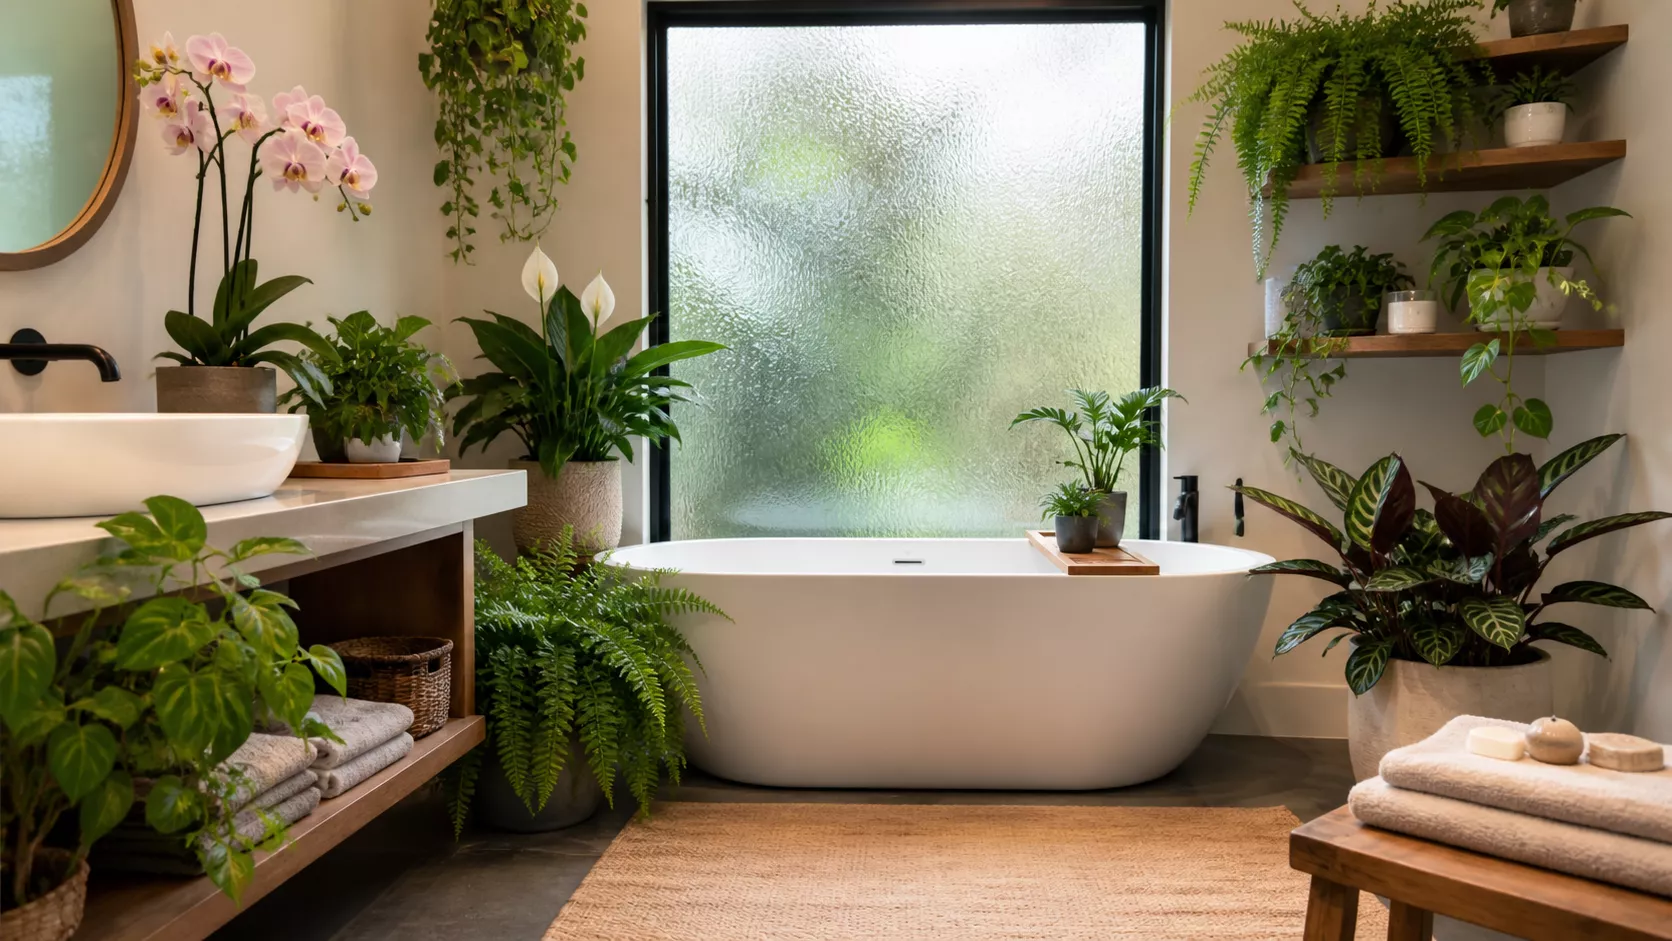
Orchids usually appreciate moderate humidity. Very dry air can cause buds to drop, roots to dry quickly, and leaves to lose firmness.
To improve humidity, you can place orchids near other plants, use a humidity tray with pebbles and water, or use a humidifier. Make sure the pot does not sit directly in water.
However, humidity should come with good airflow. High humidity with poor airflow can increase the risk of fungal problems. Balance is important.
Generally, many beginner orchids prefer comfortable indoor temperatures. They do not like extreme cold, hot drafts, or sudden changes.
Keep orchids away from air conditioners, heaters, cold windows, and strong temperature swings. Stable conditions help flowers last longer and support healthy growth.
Also, some orchids need a slight temperature difference between day and night to encourage reblooming. For Phalaenopsis, cooler nights for a period may help trigger a new flower spike.
Orchids benefit from light fertilization during active growth. Since they grow in bark or other loose media, nutrients may not remain available for long.
Use an orchid fertilizer according to the product instructions. A diluted feeding routine is often safer than strong fertilizer applications.
However, avoid fertilizing a dry or stressed orchid. Water first if needed, and do not fertilize when roots are damaged, the plant is weak, or the potting medium is unhealthy.
Many beginners wonder how to make orchids bloom again after the flowers fall. Reblooming depends on light, plant health, maturity, and sometimes temperature changes.
First, make sure the orchid receives enough bright indirect light. Without enough light, the plant may grow leaves but not produce flowers.
Then, maintain healthy roots, proper watering, and light feeding during active growth. For Phalaenopsis orchids, a period of slightly cooler nights may help encourage a new flower spike.
After flowers fall, do not throw the orchid away. This is normal. The plant may enter a growth phase before blooming again.
You can trim the flower spike depending on its condition. If the spike is brown and dry, cut it near the base with clean scissors. If it is still green, some growers cut above a node to encourage possible reblooming.
However, if the plant is weak, it may be better to cut the spike completely so the orchid can focus on root and leaf growth.
Pruning orchids should be done carefully. Remove dead flower spikes, yellow leaves, or damaged roots when repotting. Always use clean, sharp tools.
Avoid cutting healthy roots unless they are clearly damaged. Orchid roots may look unusual, but firm roots are usually important for the plant.
Also, do not remove healthy leaves just because they look old. Leaves store energy and help the orchid prepare for future blooming.
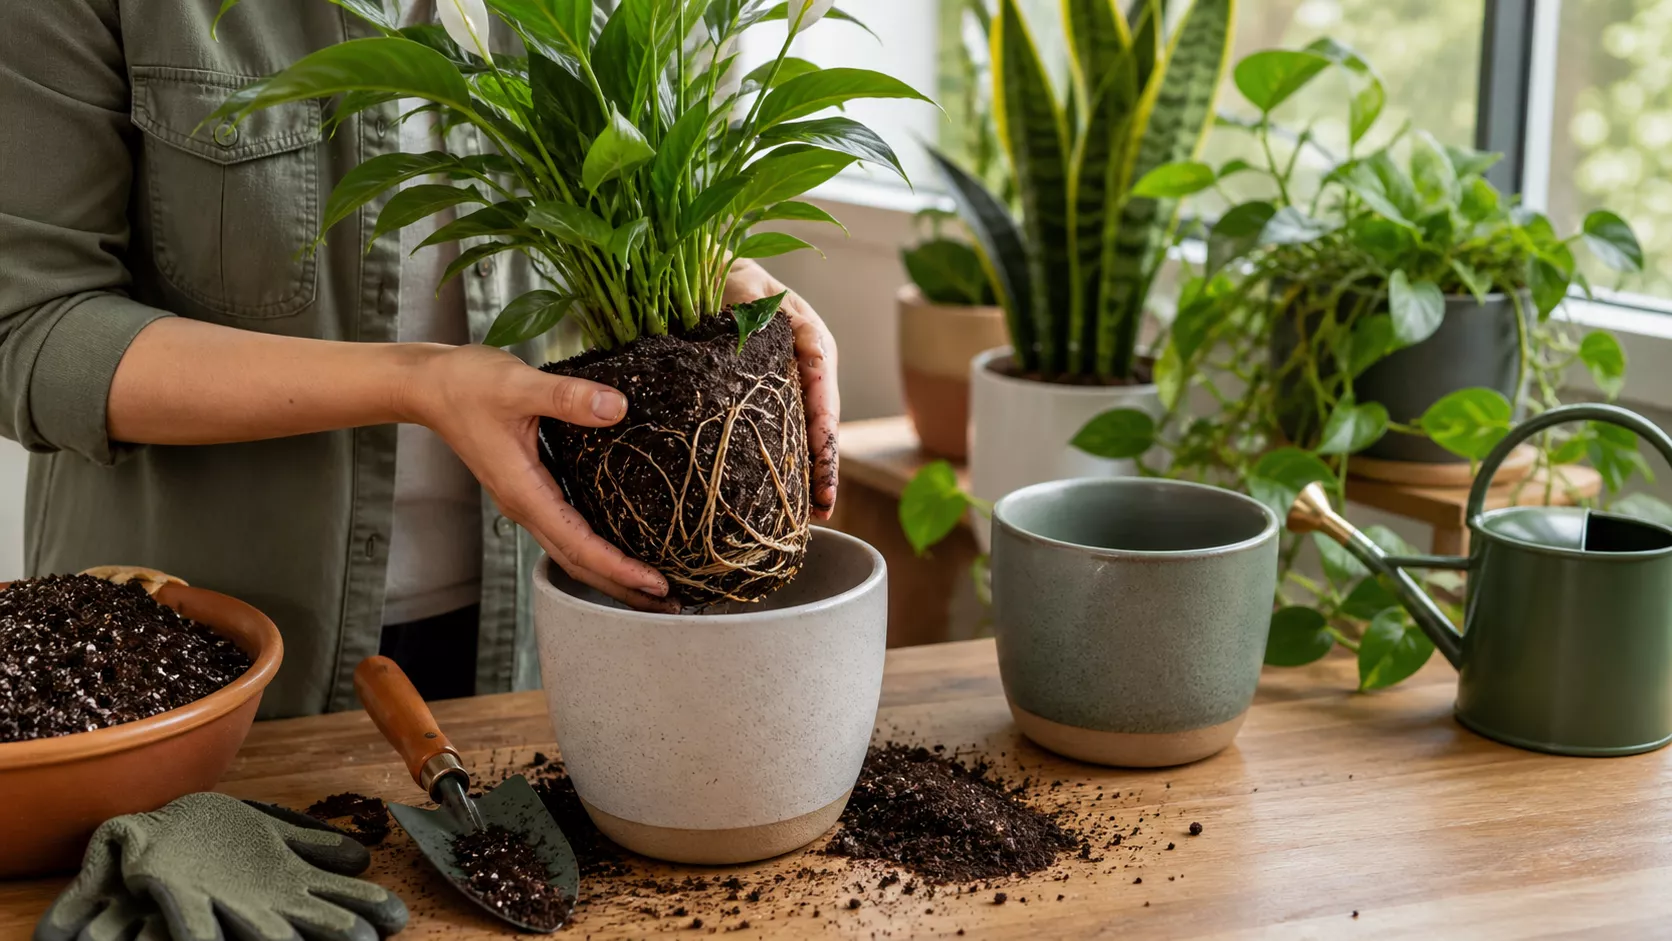
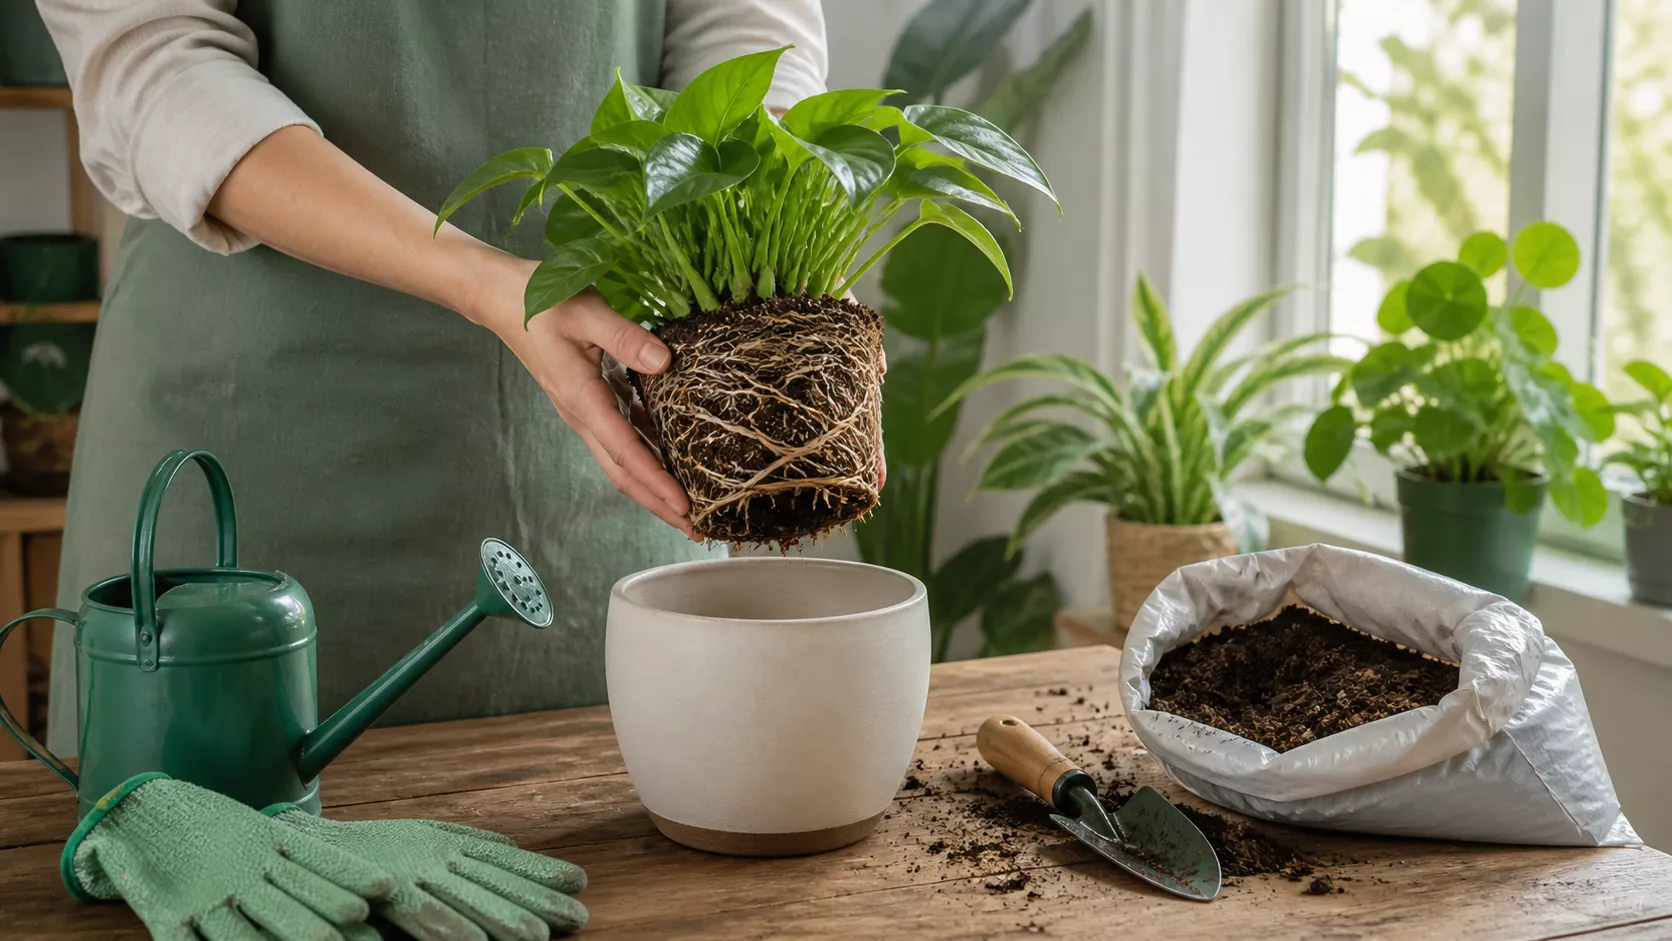
Usually, orchids need repotting when the potting mix breaks down, roots outgrow the pot, drainage becomes poor, or the plant has root problems.
Bark mix breaks down over time and becomes compacted. When this happens, it can hold too much moisture and reduce airflow around the roots.
When repotting, choose fresh orchid mix and a suitable pot with drainage. Remove old broken-down medium and trim only roots that are mushy, black, or clearly dead.
Healthy roots are essential for orchid success. Firm roots are good, even if they are green, white, or silvery. Green usually means hydrated, while silvery often means dry.
Unhealthy roots may be mushy, hollow, black, or foul-smelling. These roots cannot support the plant properly and may need trimming during repotting.
Because roots are so important, clear pots can help beginners monitor orchid health without disturbing the plant constantly.
Yellow leaves can happen for several reasons, including overwatering, natural aging, too much sun, low light, nutrient issues, or root problems.
If only one lower leaf turns yellow while the rest of the plant looks healthy, it may simply be natural aging. Orchids naturally lose older leaves over time.
However, if several leaves turn yellow or the plant wilts, check the roots and watering routine. Root problems are often the hidden cause of orchid leaf issues.
Wrinkled leaves often mean the orchid is not receiving enough water through its roots. This can happen from underwatering or from damaged roots caused by overwatering.
First, check the roots. If roots are dry and firm, the plant may need more consistent watering. If roots are mushy or damaged, the plant may not be able to absorb water even when the medium is wet.
To fix this, correct the root problem and adjust watering. Recovery may take time because damaged leaves may not become completely smooth again.
Bud drop happens when orchid buds fall before opening. This can be caused by sudden temperature changes, dry air, low light, underwatering, overwatering, drafts, or moving the plant too often.
To prevent bud drop, keep orchids in stable conditions while they are forming buds. Avoid placing them near heaters, air conditioners, fruit bowls, or cold windows.
Also, maintain consistent watering and humidity. Flowering orchids often dislike sudden changes.
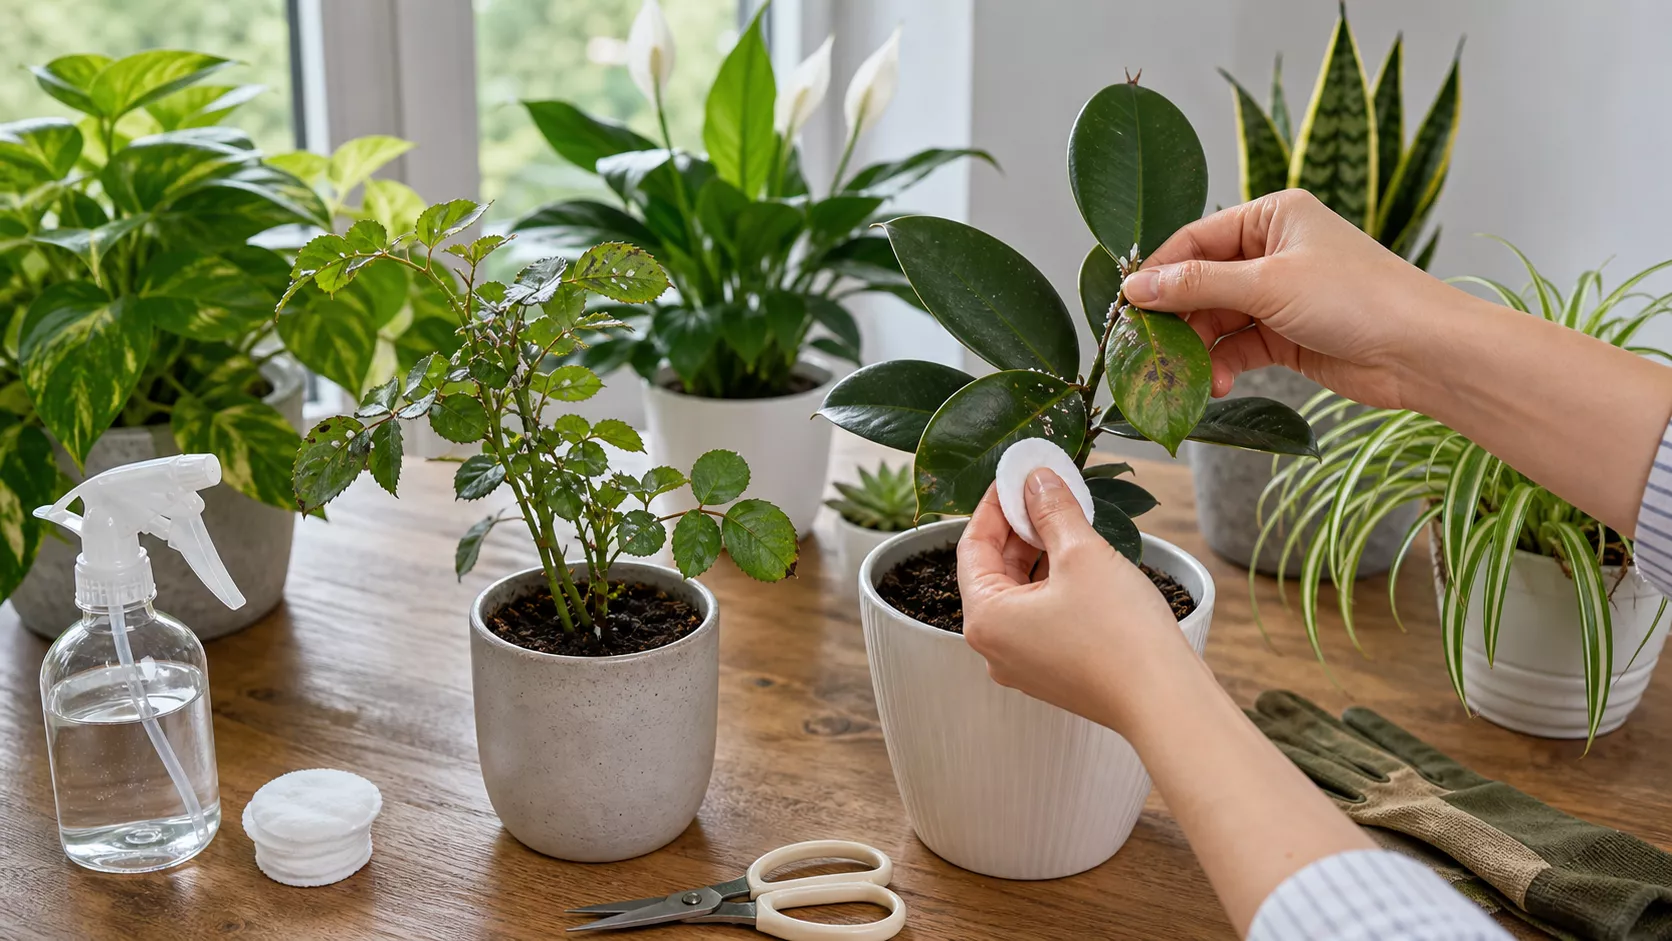
Orchids can attract pests such as mealybugs, scale insects, aphids, spider mites, and fungus gnats. Pests often hide under leaves, around flower spikes, and near roots.
To prevent pests, inspect new orchids before bringing them home and keep them separate from other plants for a short period.
If pests appear, isolate the orchid and treat carefully with a safe method suitable for orchids. Avoid harsh sprays on open flowers because they may damage blooms.
One common mistake is planting orchids in regular soil. Most common orchids need airflow around their roots and can decline in dense soil.
Another mistake is watering too often. Orchid roots should not stay wet constantly. They need moisture followed by airflow and partial drying.
Also, many beginners place orchids in dark corners after flowering. Without enough light, the plant may survive but fail to bloom again.
To care for orchids, place them in bright indirect light and check roots before watering. Water thoroughly when needed and let the pot drain completely.
Then, fertilize lightly during active growth, keep humidity moderate, and protect the plant from extreme temperatures.
Finally, repot when the potting mix breaks down or roots become unhealthy. With a steady routine, orchid care becomes much easier.
In conclusion, learning how to care for orchids is easier when you understand how different they are from regular houseplants. Orchids need bright indirect light, proper watering, airy potting mix, drainage, humidity, and healthy roots.
Above all, avoid overwatering and regular soil. These are two of the most common reasons orchids fail indoors.
Ultimately, orchids are elegant and rewarding plants. With patience, observation, and beginner-friendly care, your orchid can stay healthy after flowering and bloom again in the future.

