How to Care for Plants in Hot Weather

First, learning how to make orchids bloom more often is one of the biggest goals for many people who grow orchids at home. Orchids are admired for their elegant flowers, long blooming period, and delicate beauty. However, after the first flowers fall, many beginners do not know how to encourage the plant to bloom again.
Additionally, it is important to understand that orchids do not bloom all the time. Like many plants, they have natural growth cycles. After flowering, an orchid may need time to grow new leaves, strengthen its roots, store energy, and prepare for the next blooming season.
Therefore, making orchids bloom more often depends on proper care and patience. This guide will explain the most important factors for orchid reblooming, including light, watering, fertilizing, temperature, pruning, potting mix, root health, and common mistakes that prevent orchids from flowering.
First, orchids usually go through different phases. They may have a flowering phase, a rest phase, and a growth phase. During the growth phase, the plant produces new leaves and roots, which help prepare it for future flowers.
Because of this, an orchid that is not blooming is not necessarily unhealthy. It may simply be gathering energy. Many beginners think the plant is finished after the flowers fall, but this is not true.
Instead, continue caring for the orchid after blooming. Healthy leaves and roots are the foundation for future flowers. A strong orchid has a much better chance of producing new flower spikes.
First, different orchids have different blooming habits. Some orchids bloom once a year, while others may bloom more often under good conditions. Phalaenopsis orchids are among the easiest orchids to rebloom indoors.
Additionally, beginner-friendly orchids usually adapt better to home environments. If your goal is regular blooming, start with orchids that are known to perform well indoors.
However, even easy orchids need proper conditions. A healthy Phalaenopsis may rebloom, but it still needs enough light, correct watering, healthy roots, and stable care.
Most importantly, light is one of the main reasons orchids fail to bloom again. An orchid may survive in low light, but it may not have enough energy to produce flowers.
Ideally, place your orchid in bright indirect light. A bright window with filtered sunlight is often a good option. The leaves should receive plenty of brightness without harsh direct sun burning them.
If the leaves are very dark green and the plant never blooms, it may need more light. If leaves are yellowish or scorched, the light may be too strong. Balanced light helps support healthy orchid flowering.
Although orchids need light, too much direct sunlight can damage the leaves. Strong sun can cause pale spots, yellow patches, brown burns, or dry leaf areas.
When leaves are damaged by sunburn, the plant may become stressed and focus on recovery instead of blooming. This can delay future flowers.
To prevent this, use a sheer curtain or place the orchid slightly away from a very sunny window. Bright filtered light is usually better than intense direct exposure.
Next, watering has a major effect on orchid reblooming. Orchids need moisture, but their roots also need air. If the roots stay wet for too long, they can become damaged and unable to support flowers.
Usually, orchids should be watered when the potting mix begins to dry and the roots look silvery. Green roots often mean the orchid still has moisture.
When watering, water thoroughly and let excess water drain completely. Never leave the orchid sitting in standing water because this can harm the roots and reduce the chance of reblooming.
Healthy roots are essential for orchids to bloom more often. Roots absorb water and nutrients, anchor the plant, and store energy. Without healthy roots, the plant may survive but struggle to flower.
Good roots are usually firm. They may be green when wet and silvery or pale when dry. Unhealthy roots may be mushy, hollow, black, or unpleasant-smelling.
If the orchid has root problems, focus on recovery before expecting flowers. Repot into fresh orchid mix if needed, trim damaged roots, and create better watering habits.
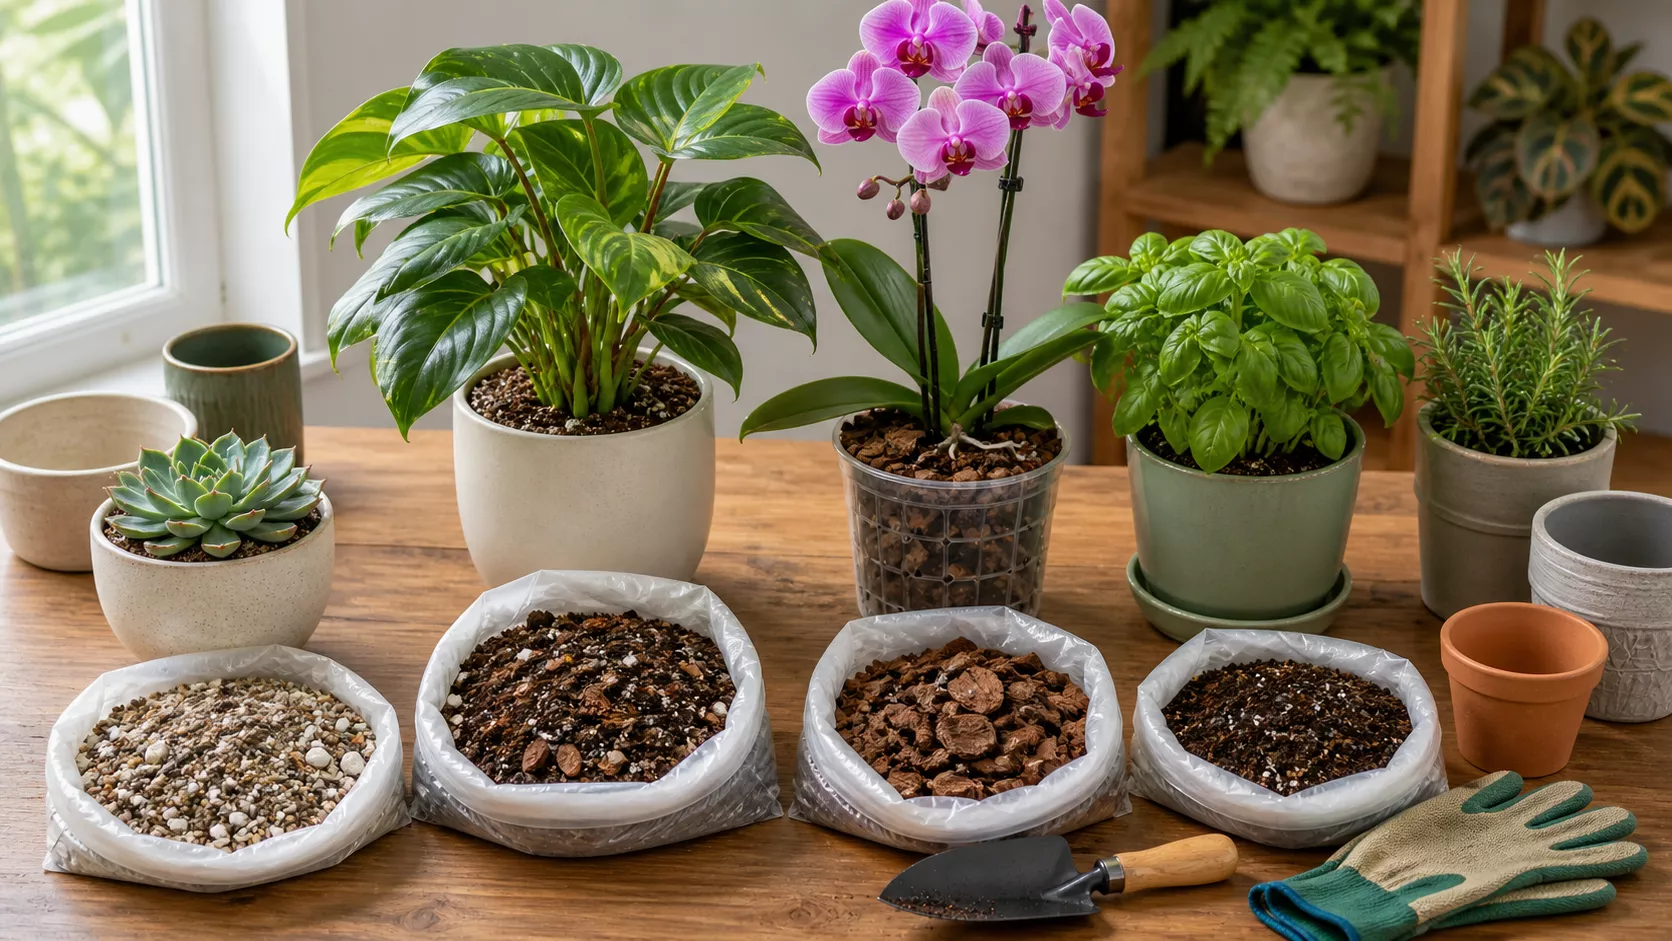
Another important factor is the potting medium. Many common orchids, especially Phalaenopsis, should not be grown in regular soil. They need an airy mix that allows roots to breathe.
A good orchid mix may include bark, sphagnum moss, perlite, charcoal, or similar materials. Bark provides airflow and dries faster, while moss holds more moisture.
If the mix is old, broken down, or compacted, it can stay wet too long and damage roots. Fresh, airy potting mix helps keep roots healthy and supports future blooming.
Over time, orchid bark and other organic materials break down. When this happens, the mix becomes compacted and holds more moisture than it should.
Signs that repotting may be needed include poor drainage, sour smell, mushy roots, slow growth, or a potting mix that looks decomposed and dense.
When repotting, remove old mix carefully and trim only damaged roots. Use fresh orchid mix and a pot with drainage. After repotting, the orchid may need time to adjust before blooming again.
Also, orchid pots should have excellent drainage. Clear plastic pots are very useful for beginners because they let you see root color and moisture levels.
A pot that is too large can hold too much moisture, while a pot that is too small can crowd the roots. Choose a pot that fits the root system comfortably without excessive extra space.
Additionally, decorative outer pots can be used, but the orchid should not sit in water inside them. Remove the inner pot for watering and let it drain before placing it back.
For Phalaenopsis orchids, a slight drop in night temperature can help encourage a new flower spike. Many orchids respond to seasonal temperature changes as a signal to bloom.
Usually, cooler nights for a few weeks may help trigger flowering, as long as the plant remains healthy and is not exposed to extreme cold.
However, avoid placing orchids in freezing temperatures, cold drafts, or sudden harsh changes. The goal is a gentle difference between day and night, not stress.
Orchids can benefit from fertilizer during active growth. Nutrients help the plant build stronger leaves and roots, which can support future blooms.
Use an orchid fertilizer according to the label instructions. Many growers prefer diluted fertilizer applied regularly during the growing season instead of strong doses.
However, avoid overfertilizing. Too much fertilizer can damage roots, cause salt buildup, and delay blooming. Balanced feeding is better than forcing the plant.
Although fertilizer can help, it should not be used as a quick fix for a non-blooming orchid. If the plant has poor light, damaged roots, or old potting mix, fertilizer will not solve the main problem.
Also, avoid fertilizing a dry, weak, or stressed orchid. Fertilizer can burn fragile roots if the plant is not healthy.
Therefore, fertilize only when the orchid is stable and actively growing. Focus first on light, watering, roots, and potting mix.
After flowers fall, the flower spike may remain green or turn brown. What you do next can affect reblooming, especially with Phalaenopsis orchids.
If the spike is brown and dry, cut it near the base with clean scissors. A dry spike will not bloom again.
If the spike is still green, some growers cut above a node to encourage a secondary flower spike. However, if the plant is weak, cutting the spike completely may help it focus on root and leaf growth first.
Sometimes, beginners remove older leaves too early. Healthy leaves are important because they help the orchid produce and store energy for future blooms.
Only remove leaves that are completely yellow, dead, or damaged. If a leaf is still mostly green, it can still help the plant.
Additionally, strong leaves are a sign that the orchid is preparing for future growth. Do not focus only on flowers; leaves and roots matter just as much.
After blooming, orchids often need a rest and growth period. During this time, the plant may not look very active, but important changes can happen in roots and leaves.
Instead of forcing the orchid to bloom immediately, provide steady care. Bright indirect light, proper watering, and healthy roots will help the plant gather energy.
Eventually, a mature and healthy orchid may produce a new flower spike when conditions are right. Patience is part of orchid care.
Orchids prefer stable conditions. Moving the plant repeatedly can expose it to changing light, temperature, humidity, and airflow. This can stress the plant and delay blooming.
Choose a good spot with bright indirect light and stable temperature. Then allow the orchid time to adjust.
If you need to move it, do so carefully and avoid sudden changes from shade to sun or from warm rooms to cold areas.
Humidity can help orchids stay hydrated and comfortable, especially in dry indoor environments. Very dry air may cause buds to dry, flowers to fade faster, or roots to dry too quickly.
To improve humidity, group plants together, use a humidity tray, or use a humidifier. Make sure there is still good airflow.
However, do not confuse humidity with wet roots. Orchids like some moisture in the air, but they do not like sitting in soggy potting mix.
Airflow helps orchid roots and leaves stay healthy. Since many orchids naturally grow with roots exposed to air, stagnant indoor conditions can create problems.
Good airflow helps the potting mix dry properly and reduces the risk of fungal issues. It also supports healthier roots.
However, avoid strong cold drafts or direct air conditioning. Gentle air movement is helpful; extreme drafts can stress the plant.
Pests can weaken orchids and prevent blooming. Common orchid pests include mealybugs, scale insects, aphids, spider mites, and fungus gnats.
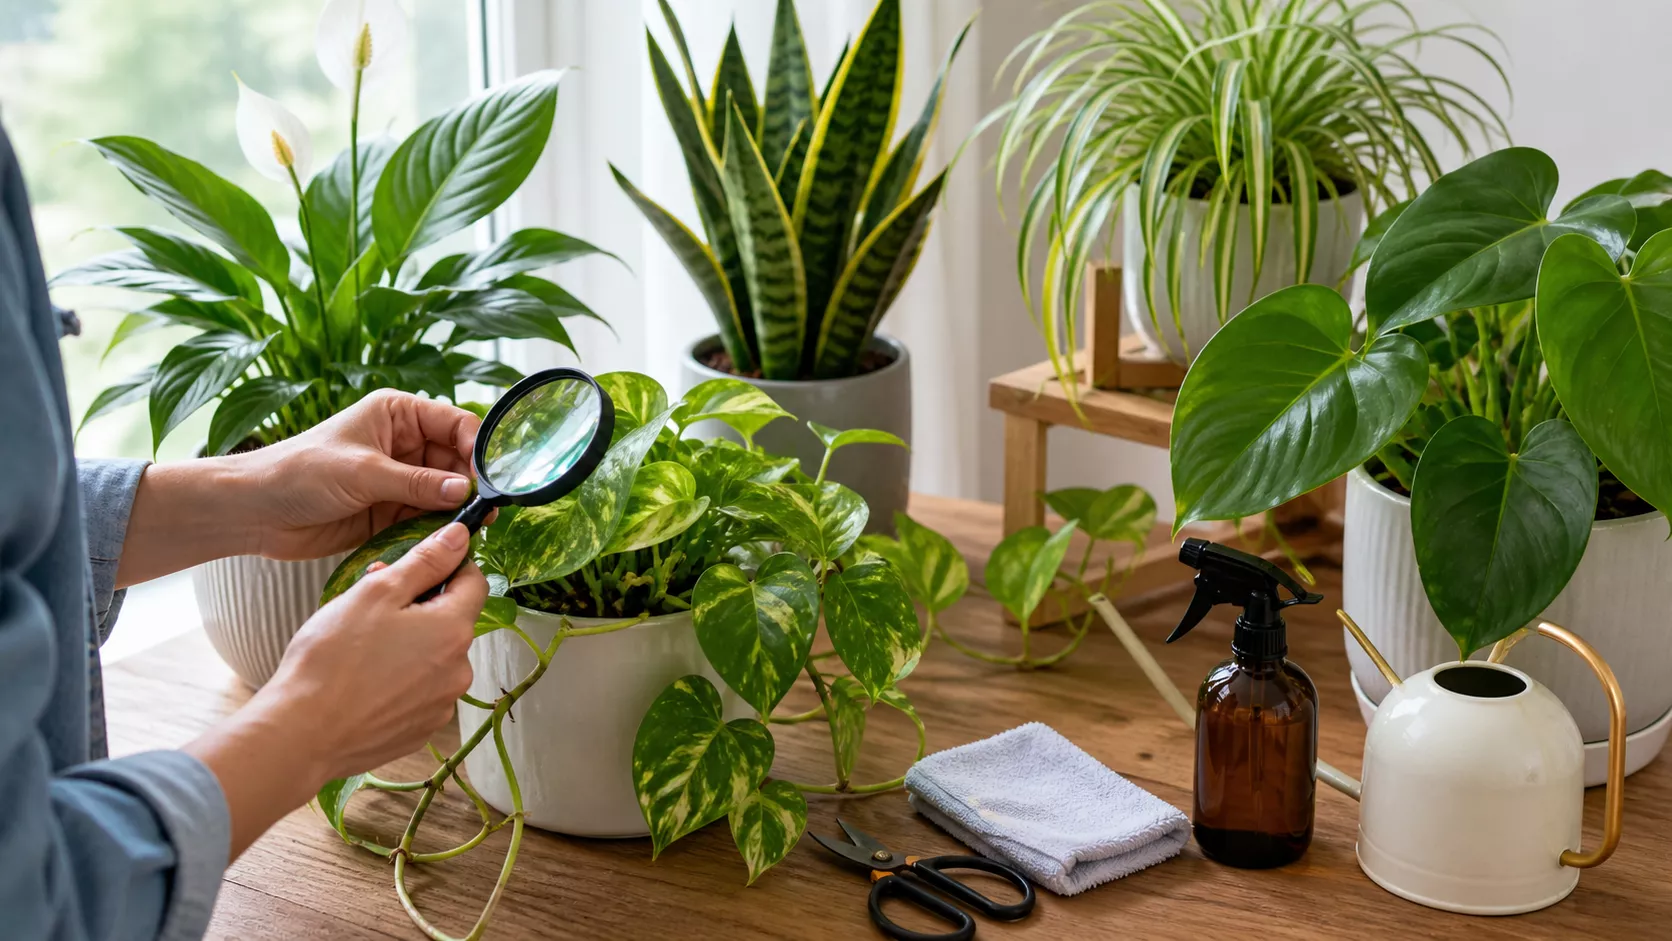
Inspect leaves, flower spikes, roots, and the potting mix regularly. Pests may hide under leaves or near flower buds.
If pests appear, isolate the orchid and treat the problem early. A stressed or infested orchid is less likely to bloom well.
Sometimes, an orchid does not bloom because it is still young or not strong enough. Young orchids may need time to mature before producing flowers.
Also, recently divided or repotted orchids may focus on root growth before blooming. This is normal and should not be rushed.
Therefore, focus on building plant strength. A mature orchid with healthy roots and leaves is more likely to bloom consistently.
If your orchid grows leaves but does not flower, the most common reason is insufficient light. The plant may have enough energy to survive but not enough to bloom.
Other possible causes include lack of temperature change, weak roots, too much nitrogen fertilizer, old potting mix, or general stress.
To solve this, improve light first. Then check roots, fertilizer routine, and temperature conditions. Flowering usually improves when the entire care routine is balanced.
Sometimes, orchids produce buds but they fall before opening. This is called bud drop. It can happen because of sudden temperature changes, dry air, low light, underwatering, overwatering, drafts, or moving the plant.
To prevent this, keep the orchid in stable conditions while buds are developing. Avoid changing location frequently or placing it near heaters, air conditioners, or cold windows.
Also, maintain consistent watering. Buds are sensitive, and stress during this phase can interrupt blooming.
One common mistake is keeping orchids in low light. Without enough bright indirect light, orchids may survive but not flower.
Another mistake is overwatering. Damaged roots cannot support blooming, even if the leaves still look acceptable.
Also, many beginners never repot orchids after the potting mix breaks down. Old compacted mix can slowly damage roots and reduce blooming potential.
To encourage reblooming, place the orchid in bright indirect light and water only when the roots and mix indicate it is time. Let all water drain away.
Then, fertilize lightly during active growth and maintain healthy roots. Repot when the mix breaks down and keep the plant in a stable environment.
Finally, give the orchid a gentle temperature difference when appropriate. With patience and consistent care, the plant may produce new flower spikes again.
In conclusion, learning how to make orchids bloom more often depends on understanding the plant’s natural cycle. Orchids need time to grow roots and leaves before producing flowers again.
Above all, focus on bright indirect light, healthy roots, proper watering, fresh orchid mix, gentle fertilizing, and stable conditions. These factors create the foundation for successful orchid reblooming.
Ultimately, orchids reward patience. When you care for the whole plant and not only the flowers, your orchid has a much better chance of blooming again and bringing elegance to your home more often.
